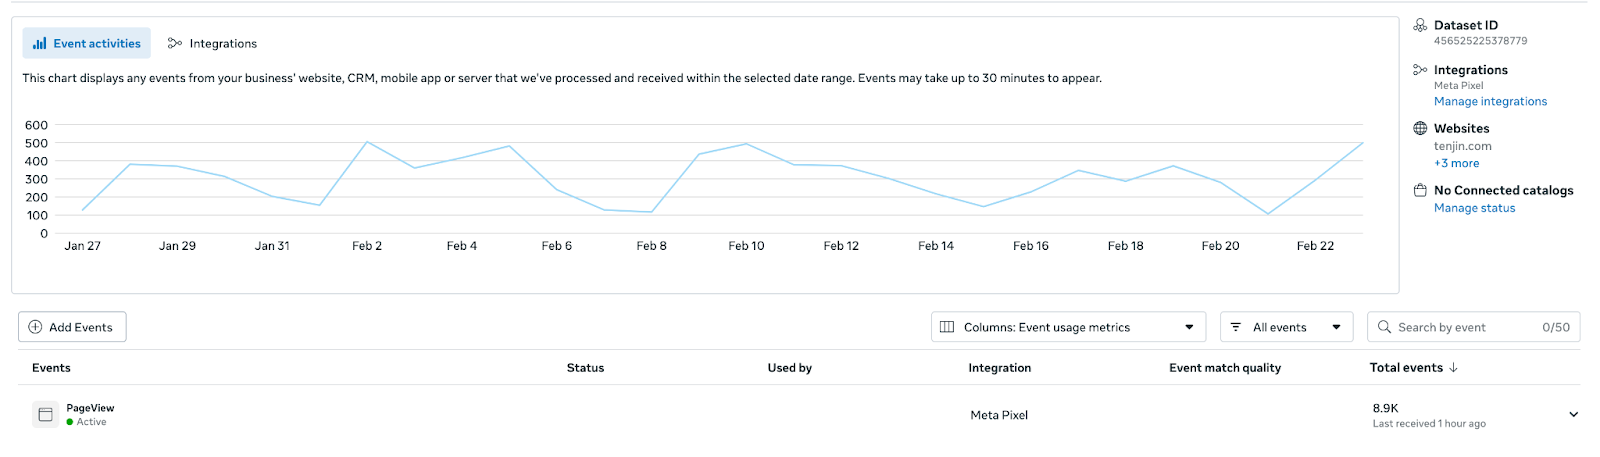
Meta Event Manager Configurations #
- Login to your Meta event manager.
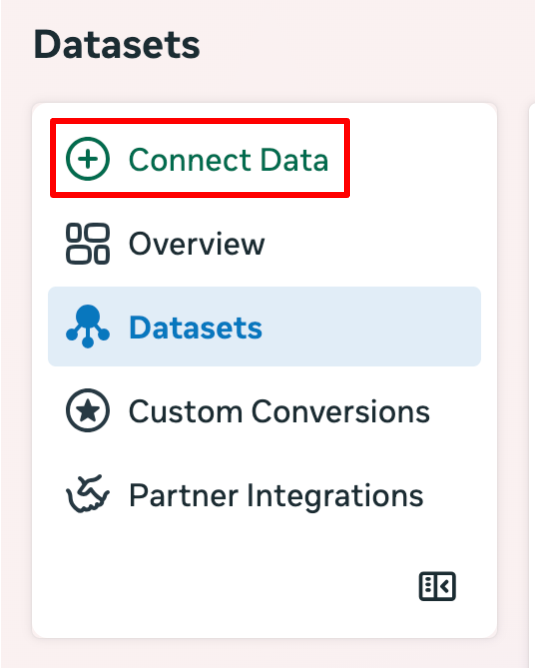
- Click “Connect Data” to connect a new data source.

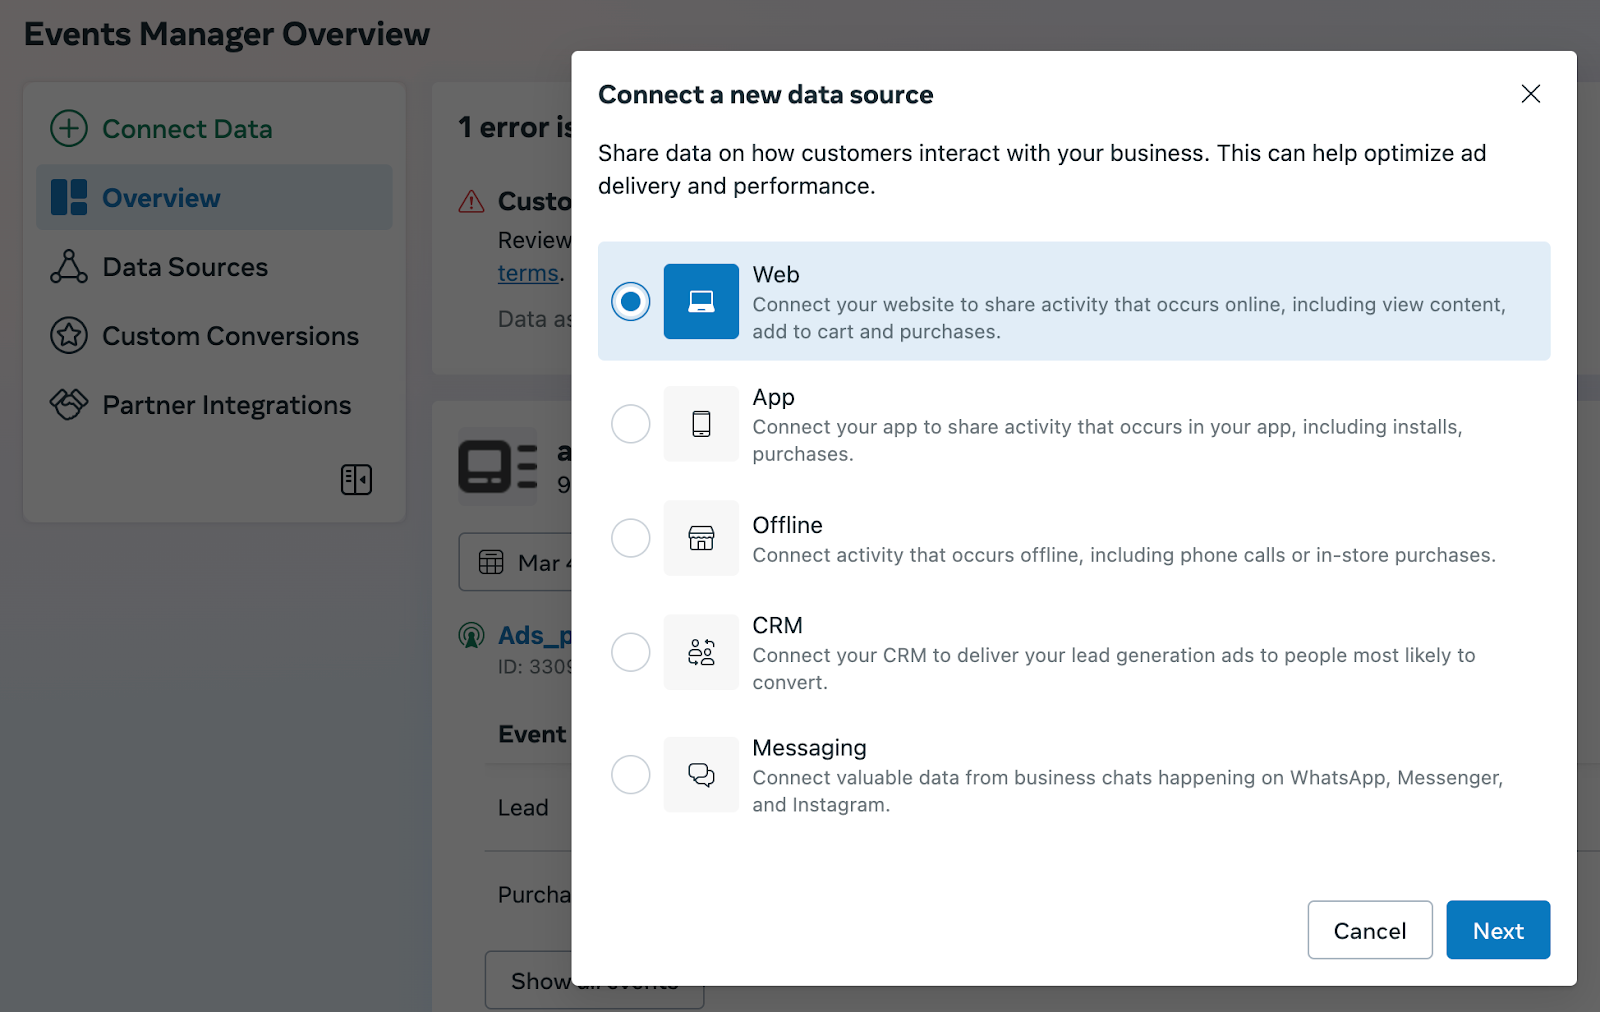
- Choose the “Web” option.

- Create or select your existing dataset (If you have created a pixel already).
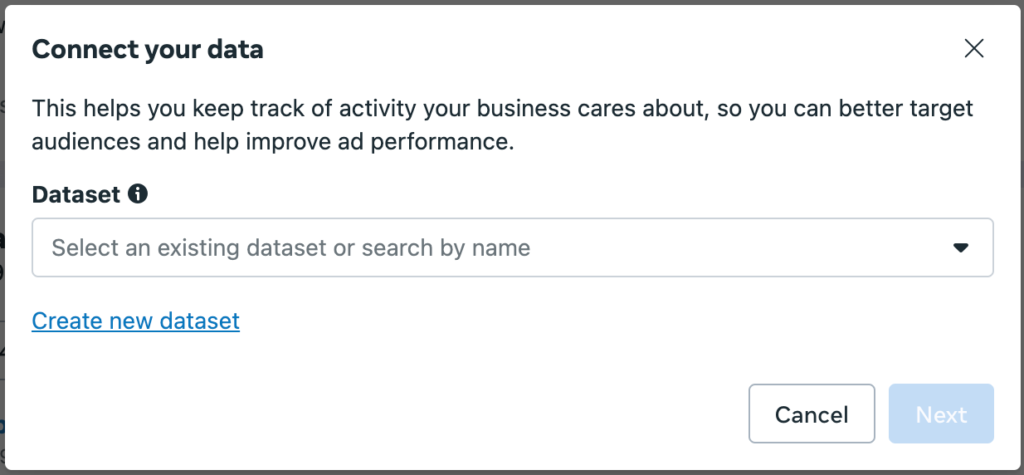
- If you choose to create a new dataset, define a name first.
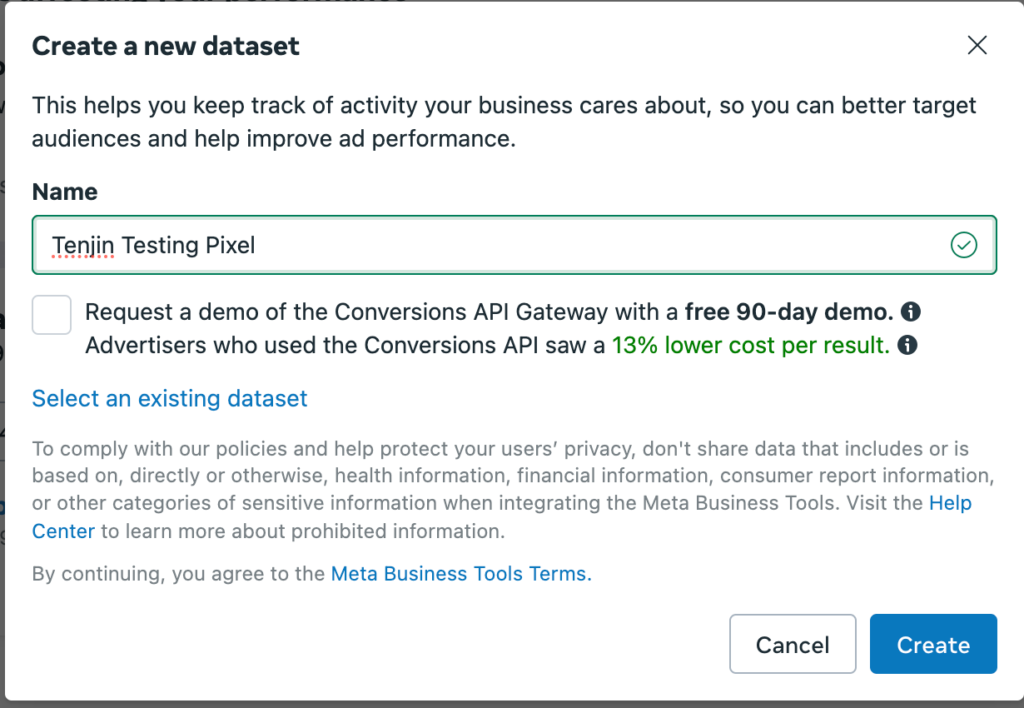
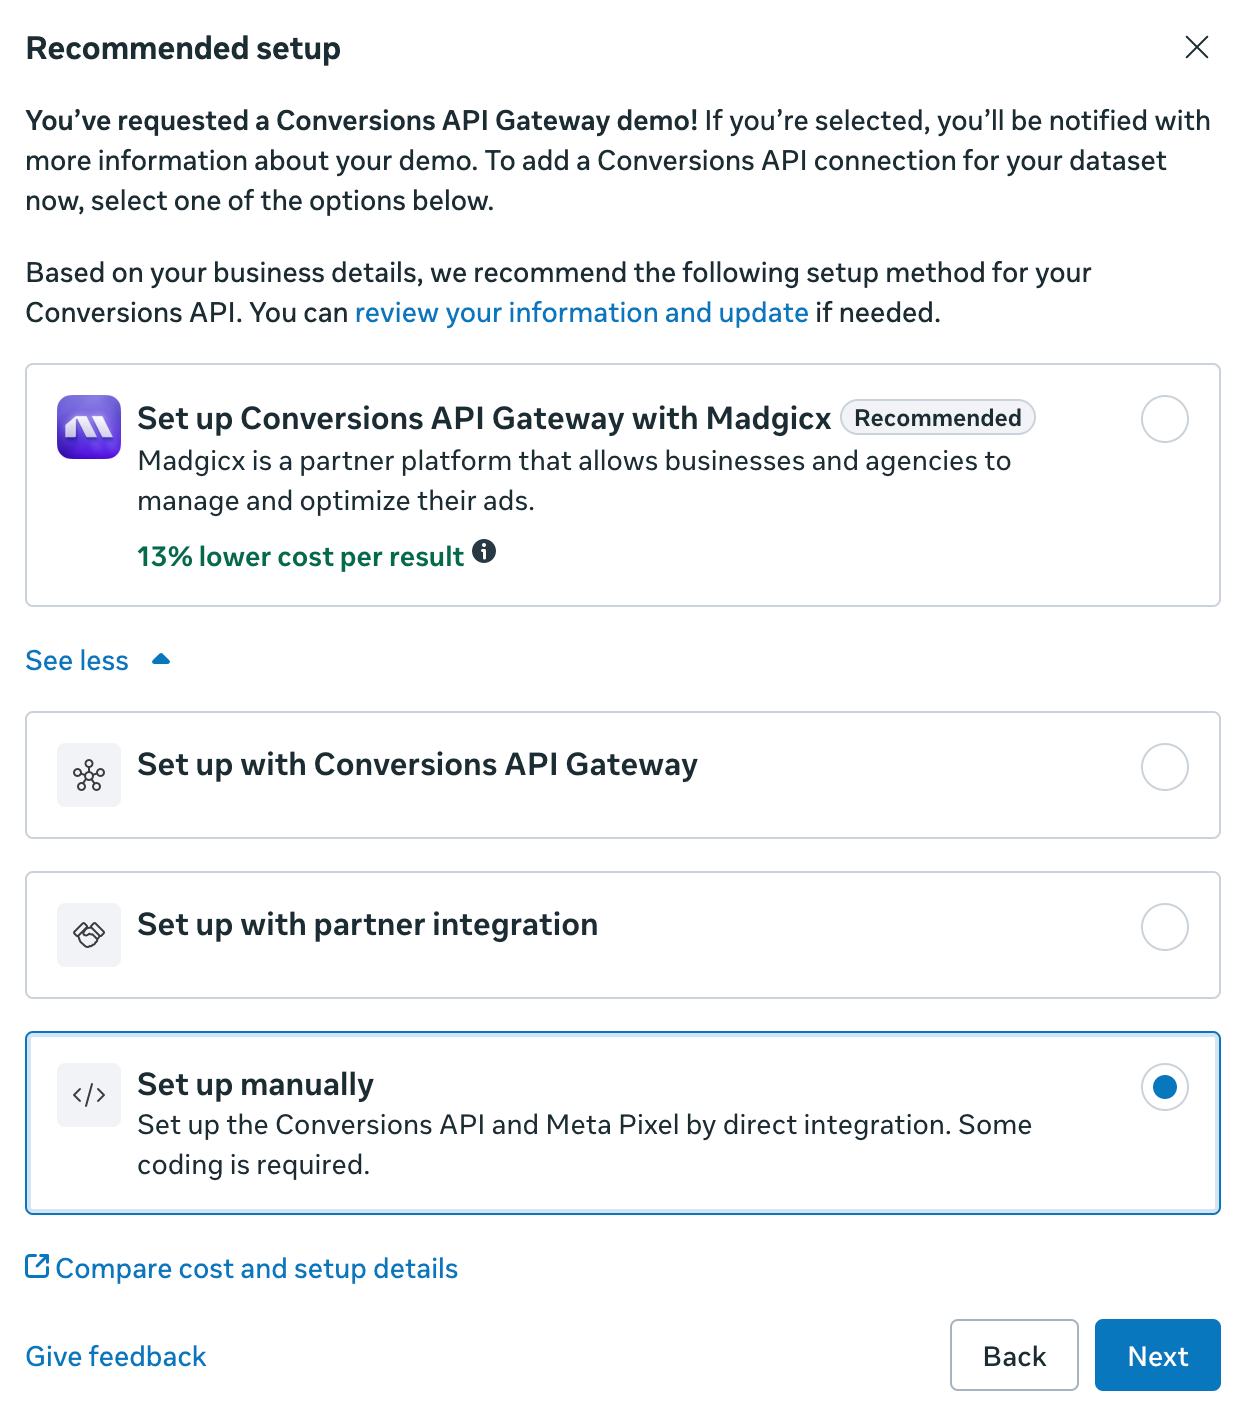
- Choose “Setup manually”.

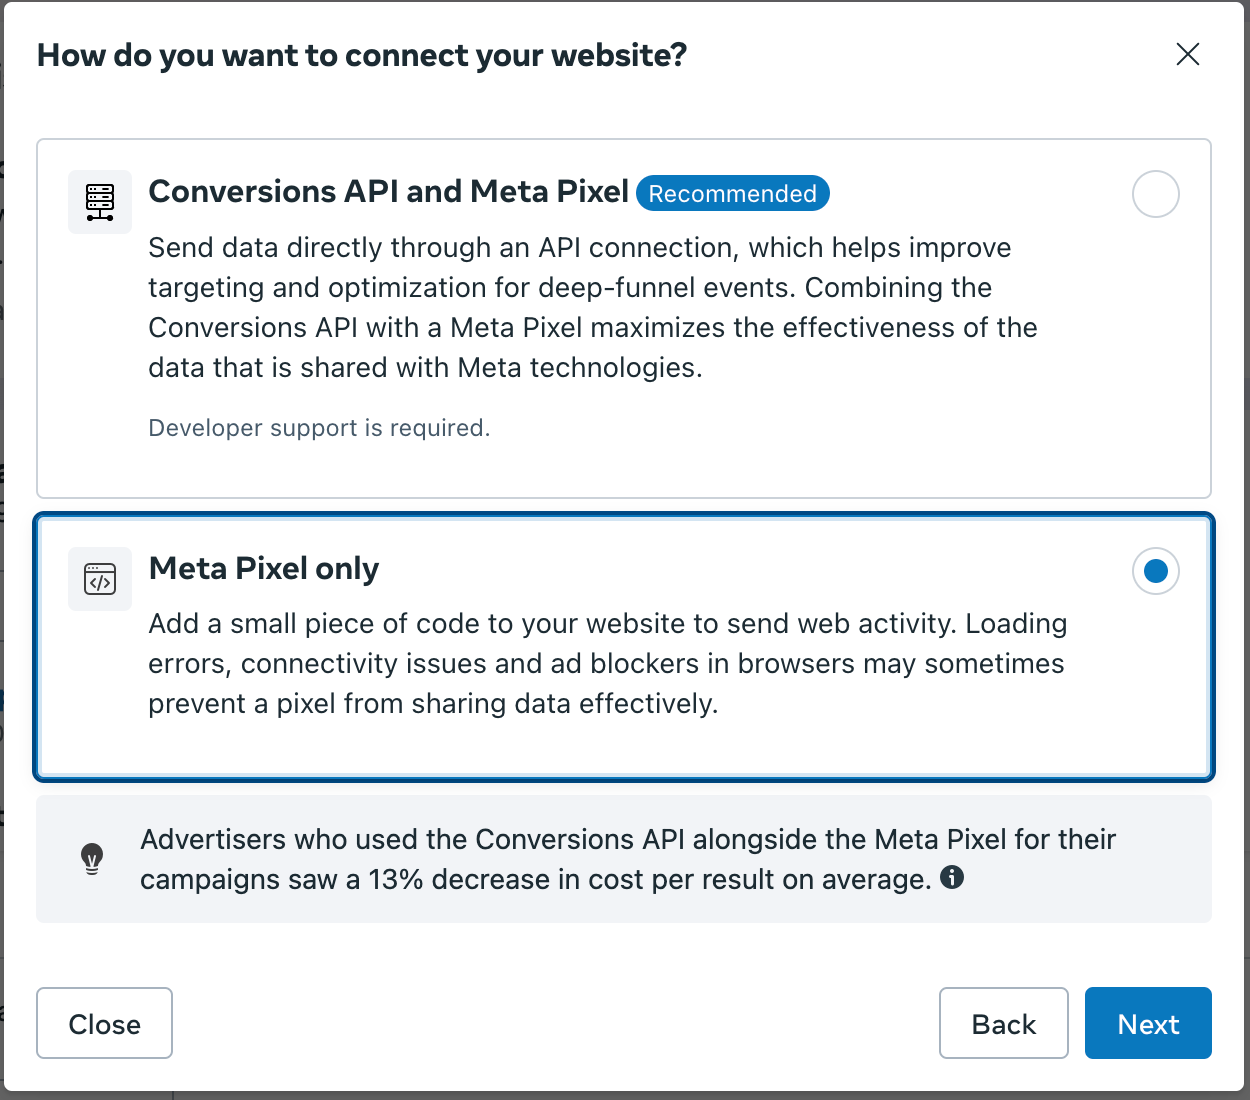
- Choose “Meta Pixel only” option.

- Then you will be redirected to the Pixel installation page, as shown below:

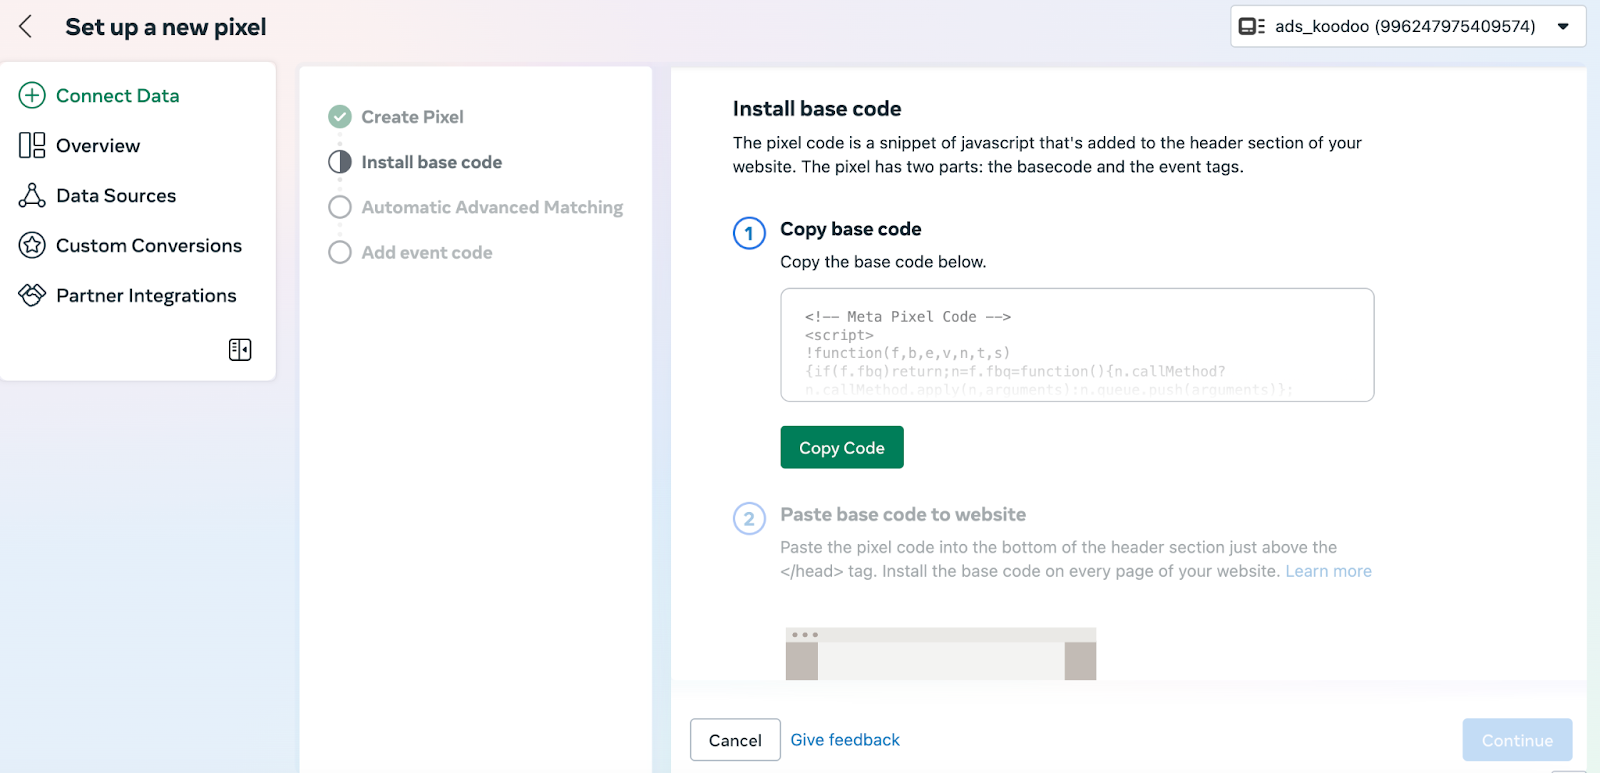
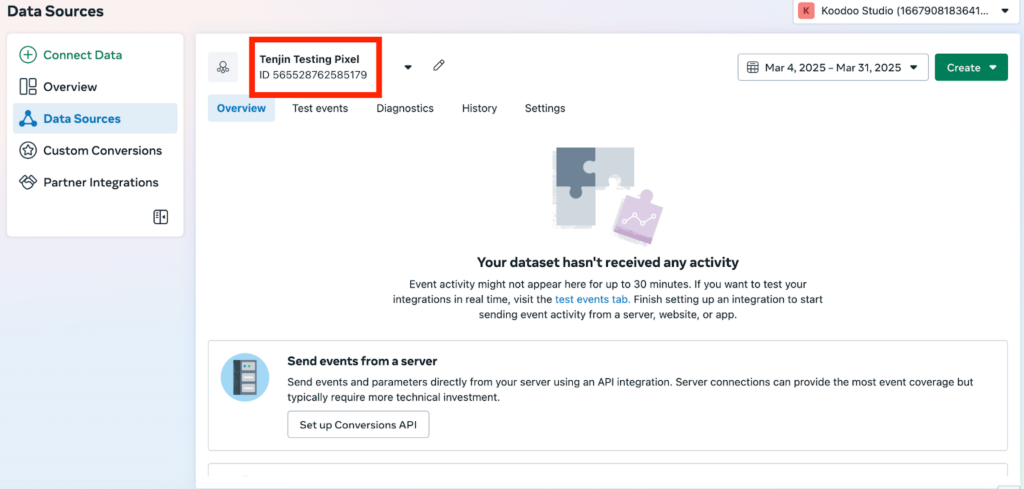
- Follow each step, just click “Continue”, then you will find your Pixel created with ID listed as below:
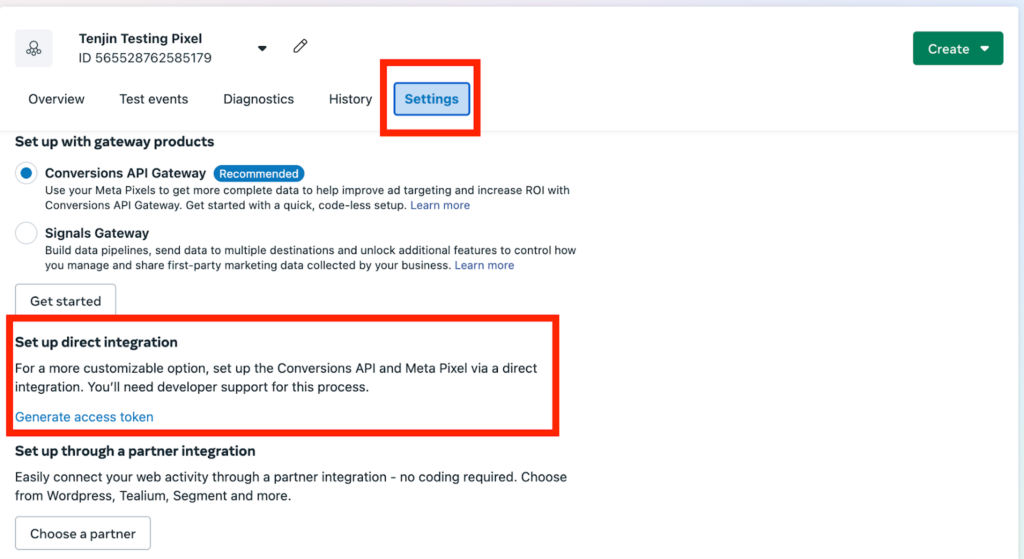
- You can then generate your access token under the “Settings” tab, as shown below:
- After you click “Generate Access Token”, you will see your token as shown below.
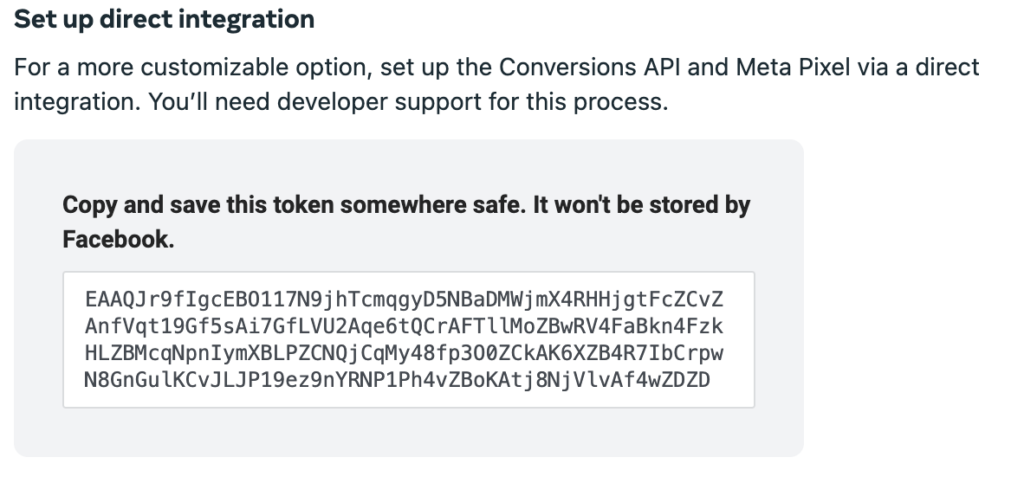
Please save your Pixel ID and access token for further configuration.
Configuration on Tenjin dashboard #
- Add Meta Web-to-App channel to Tenjin.
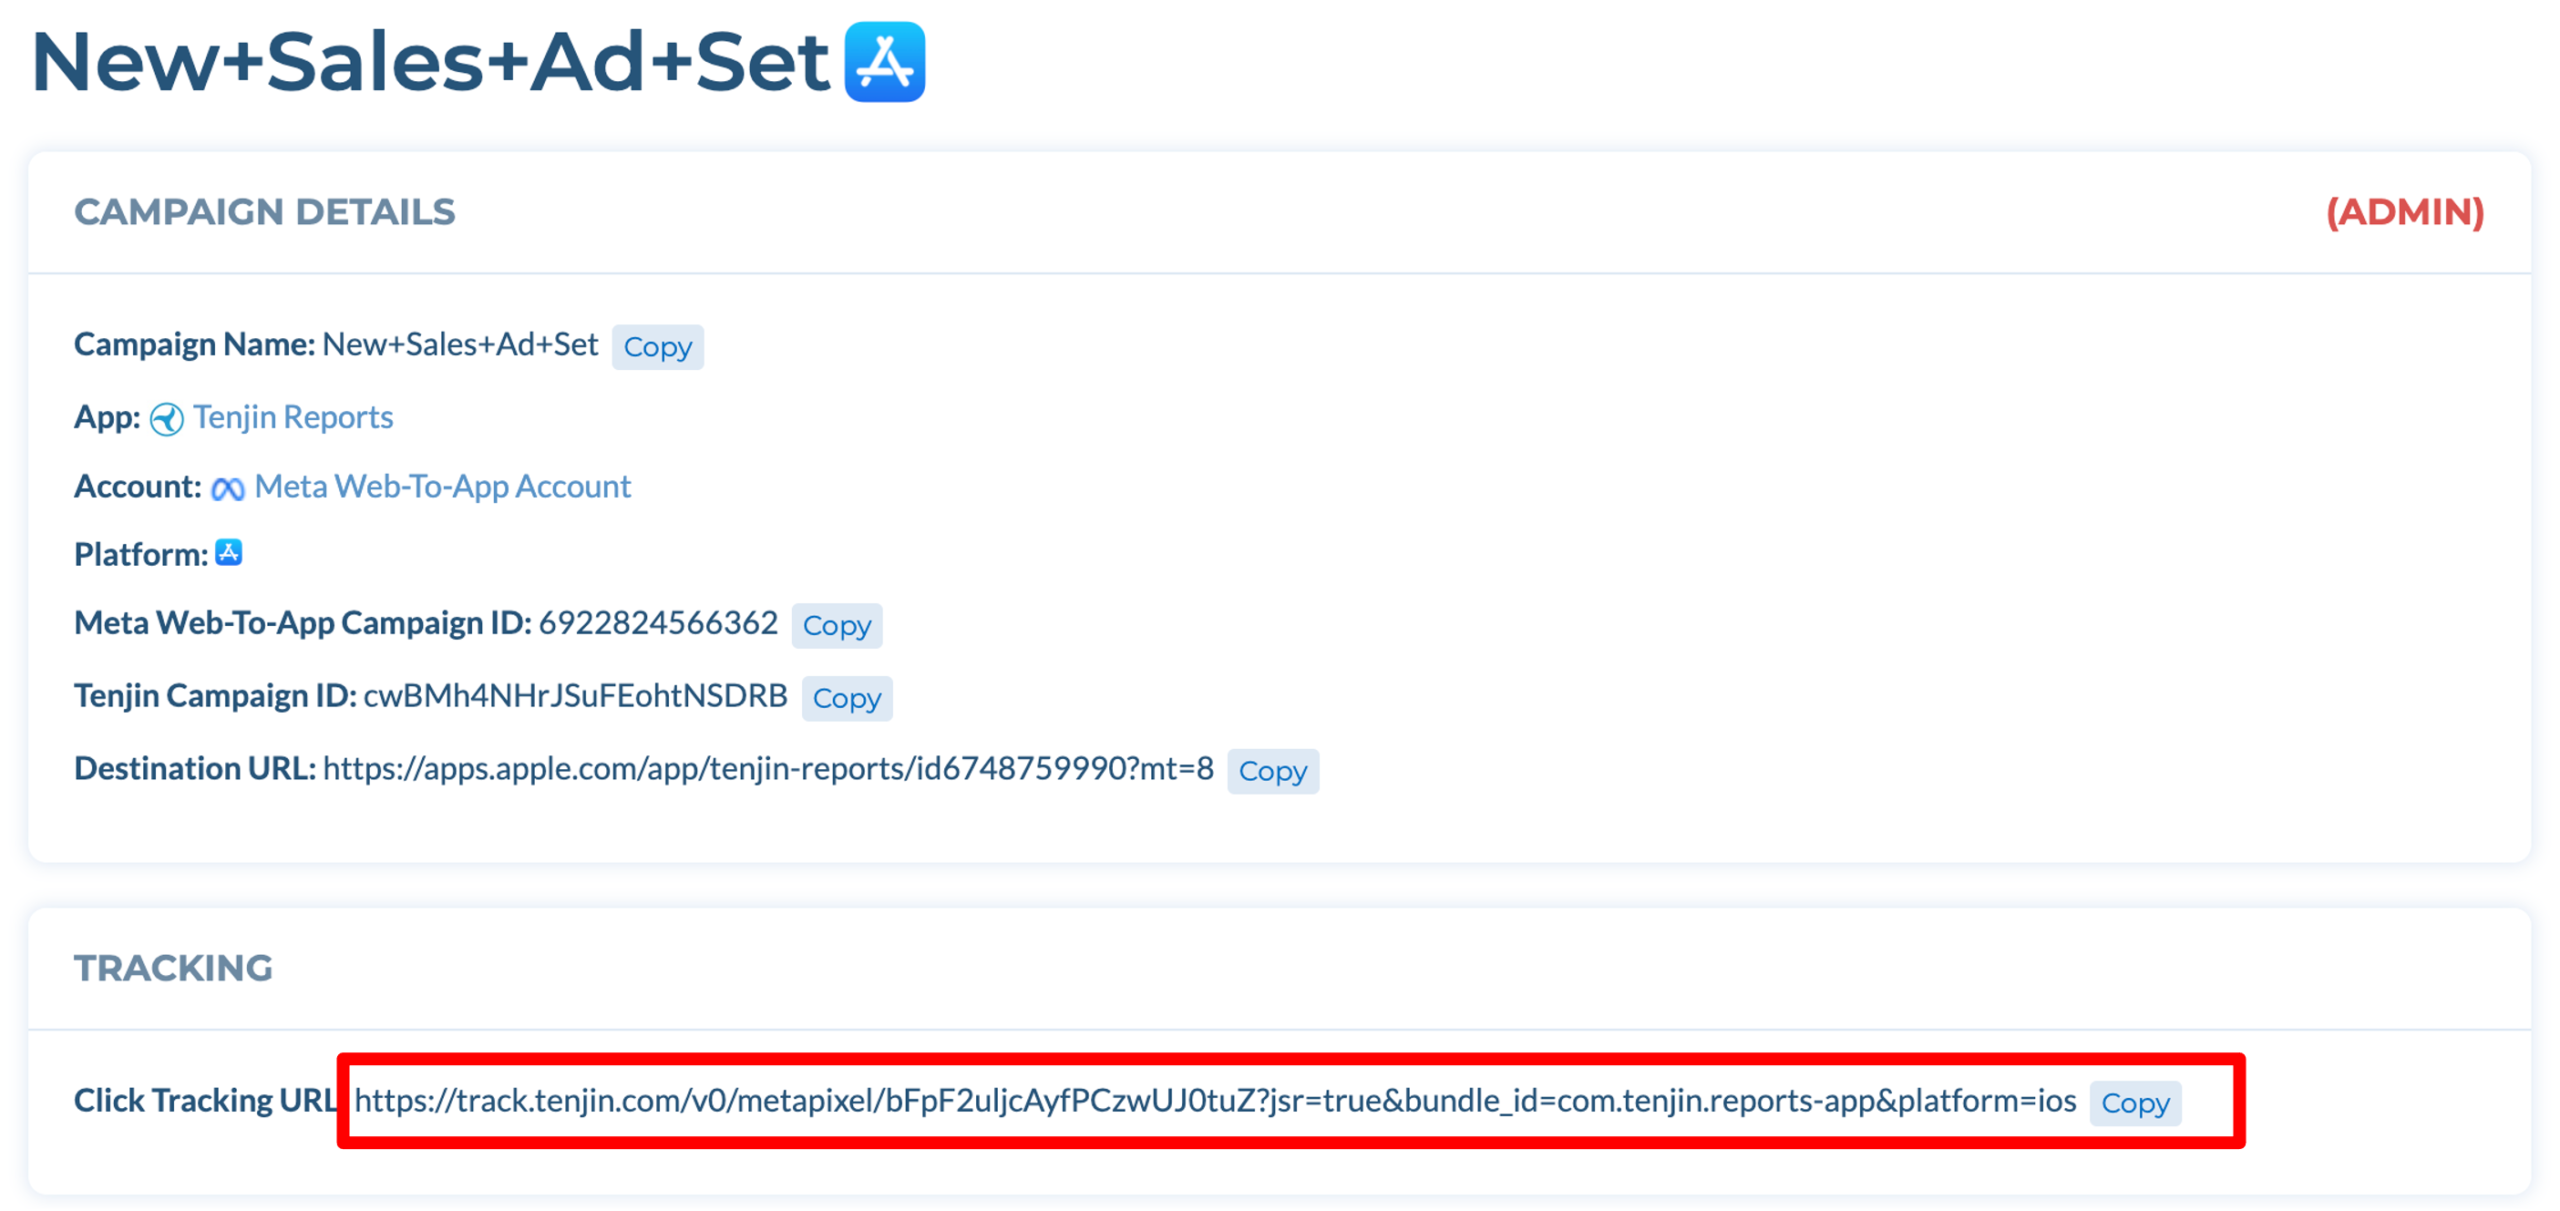
- Create a campaign in the campaigns page and copy the tracking link as below. bFpF2uljcAyfPCzwUJ0tuZ in the URL will be a unique ID for your Tenjin account.

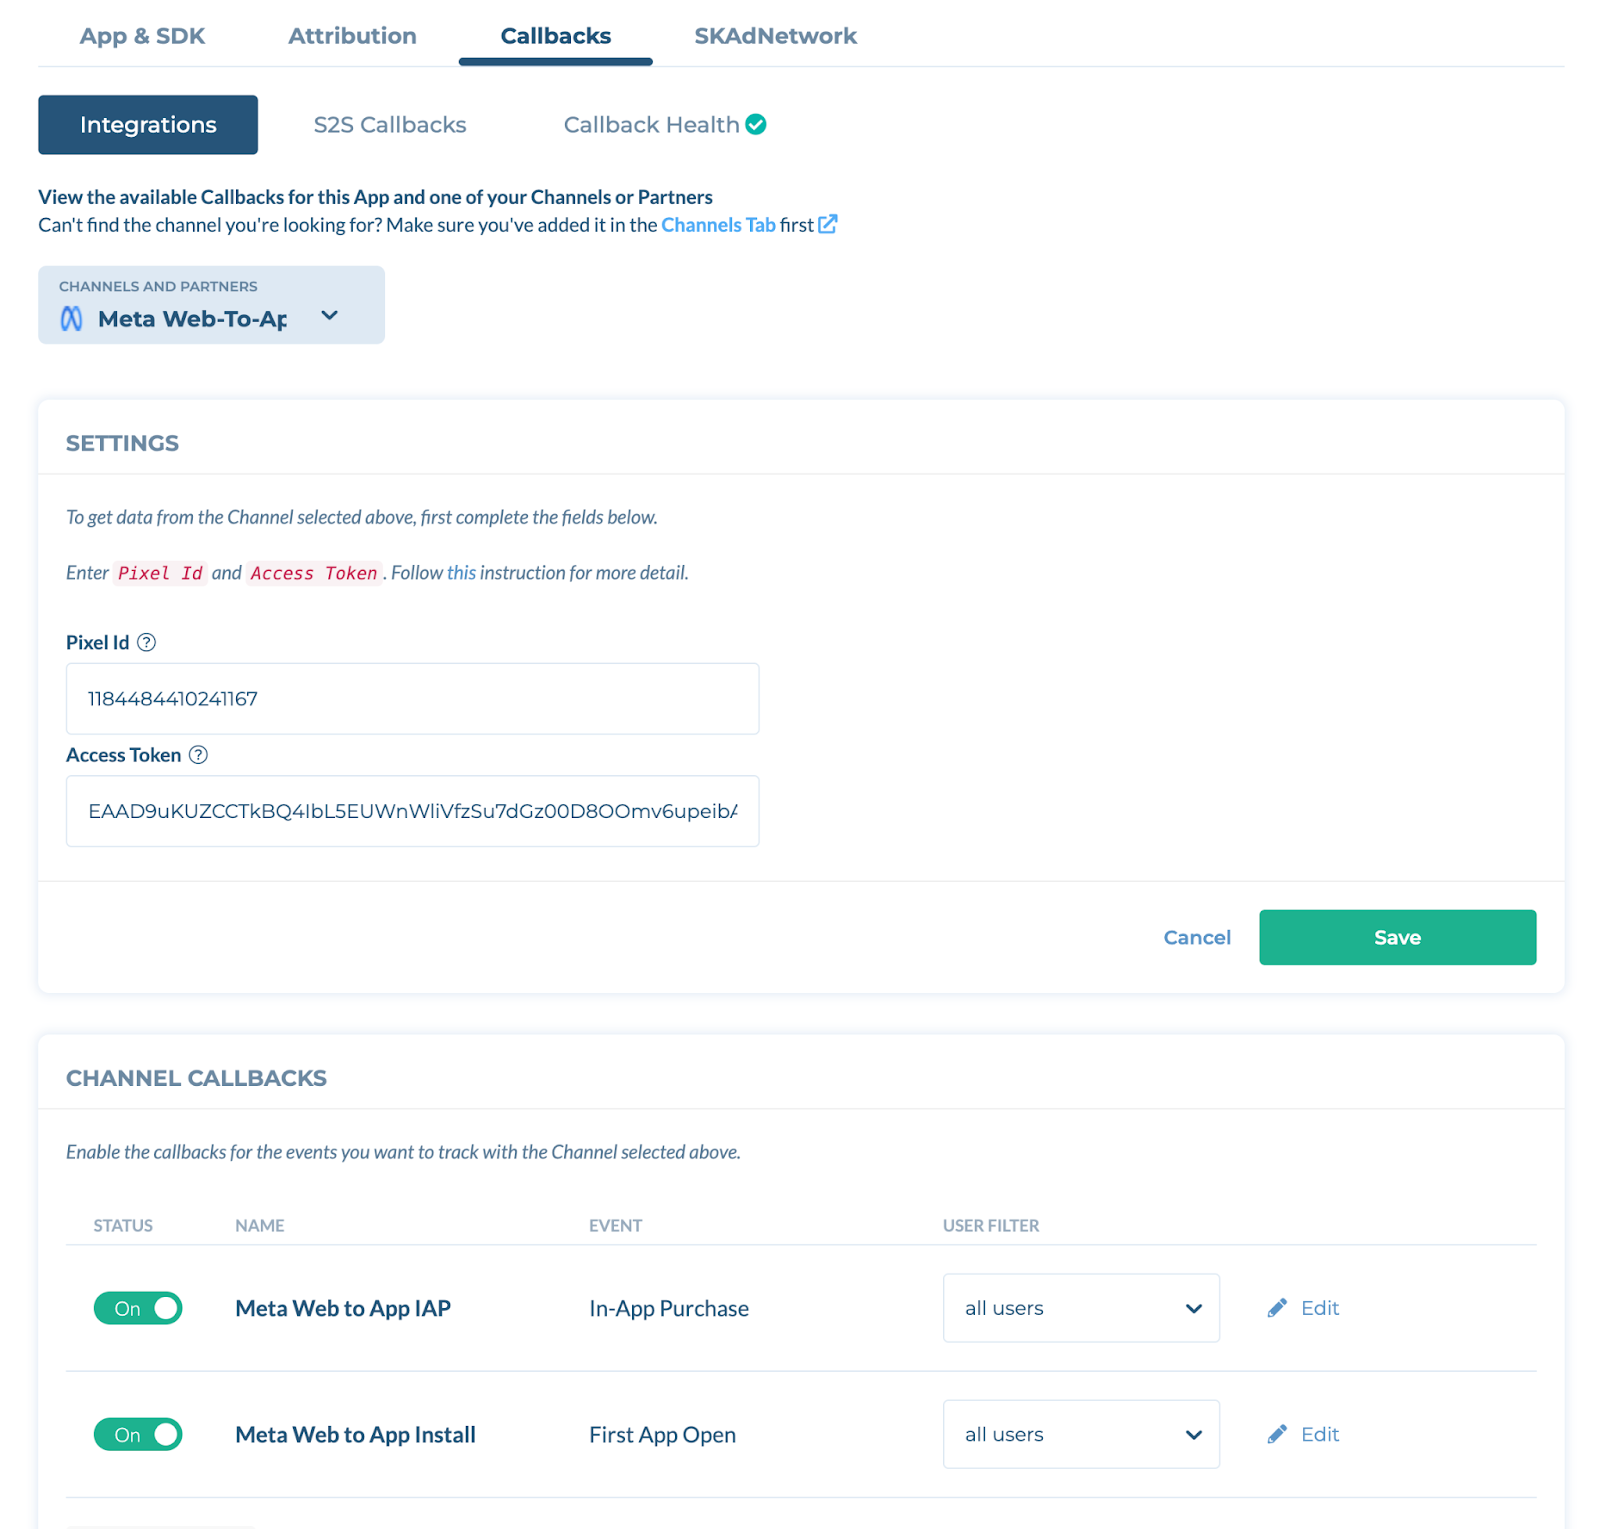
- Turn on the Meta Web-to-App Callback:
- Meta Web to App IAP
- Meta Web to App Install (optional)
- Meta Web to App Custom Event (optional)

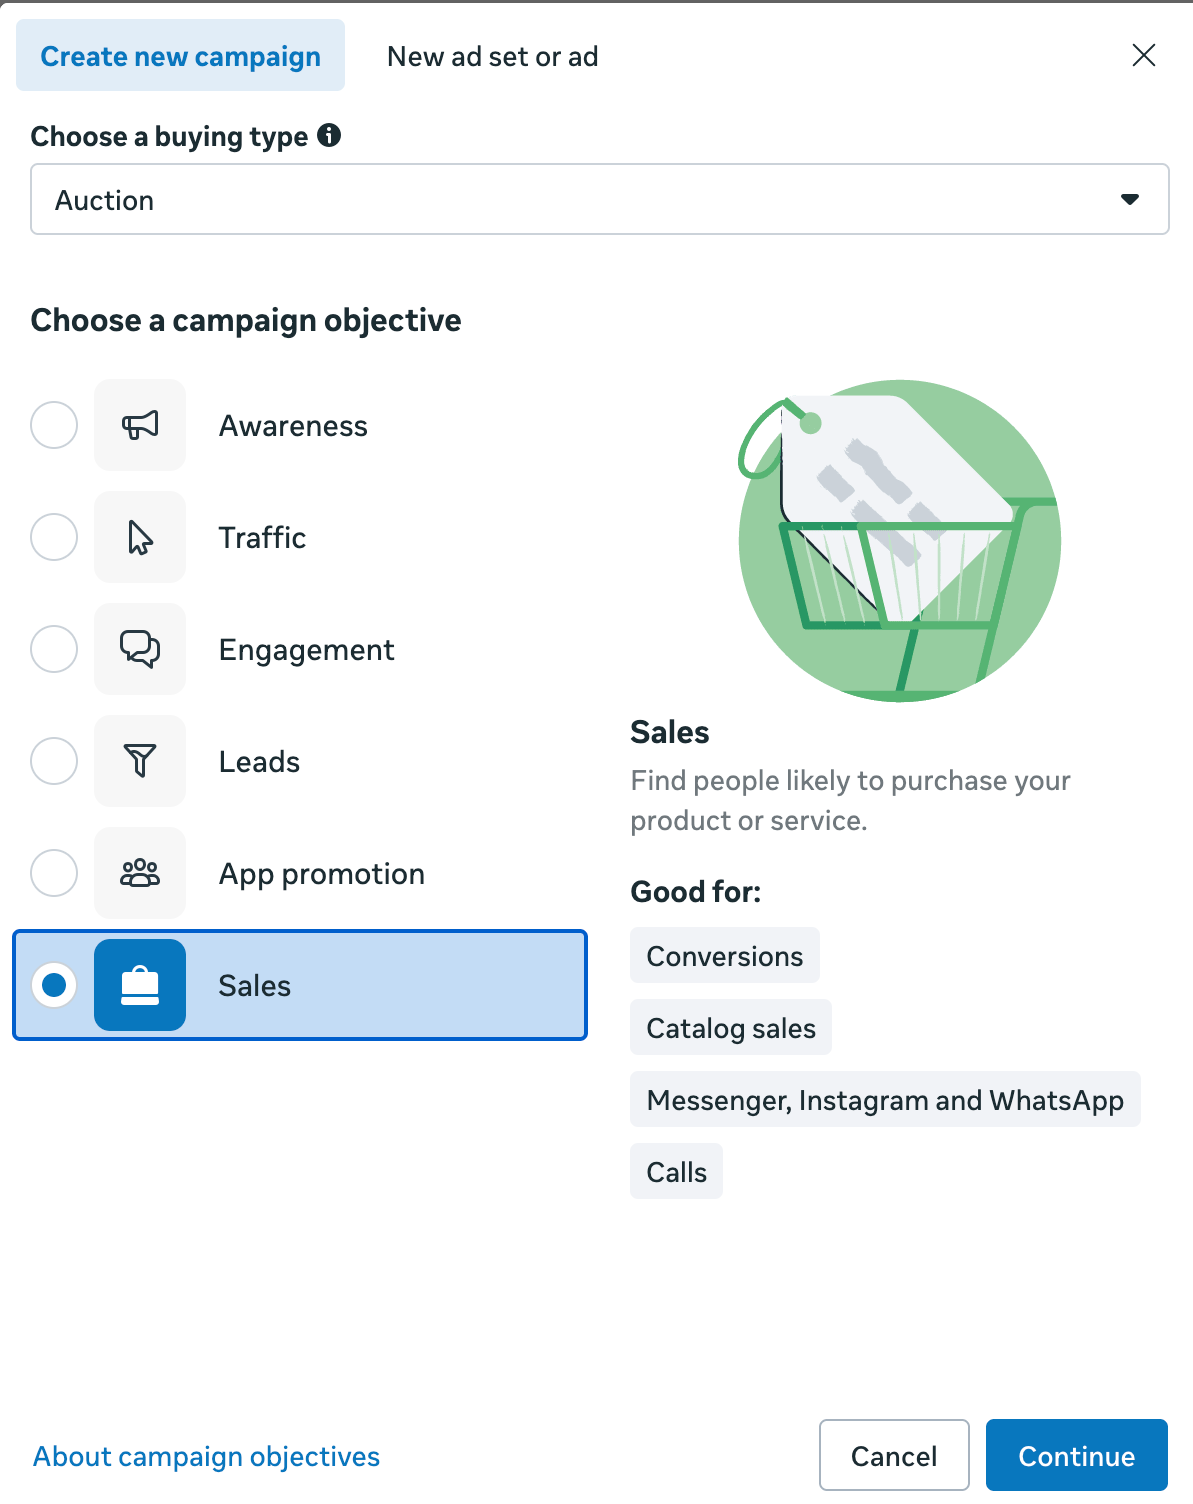
Meta Ads Manager #
- Choose a “Sales” objective when you create a campaign on Meta Ads Manager.

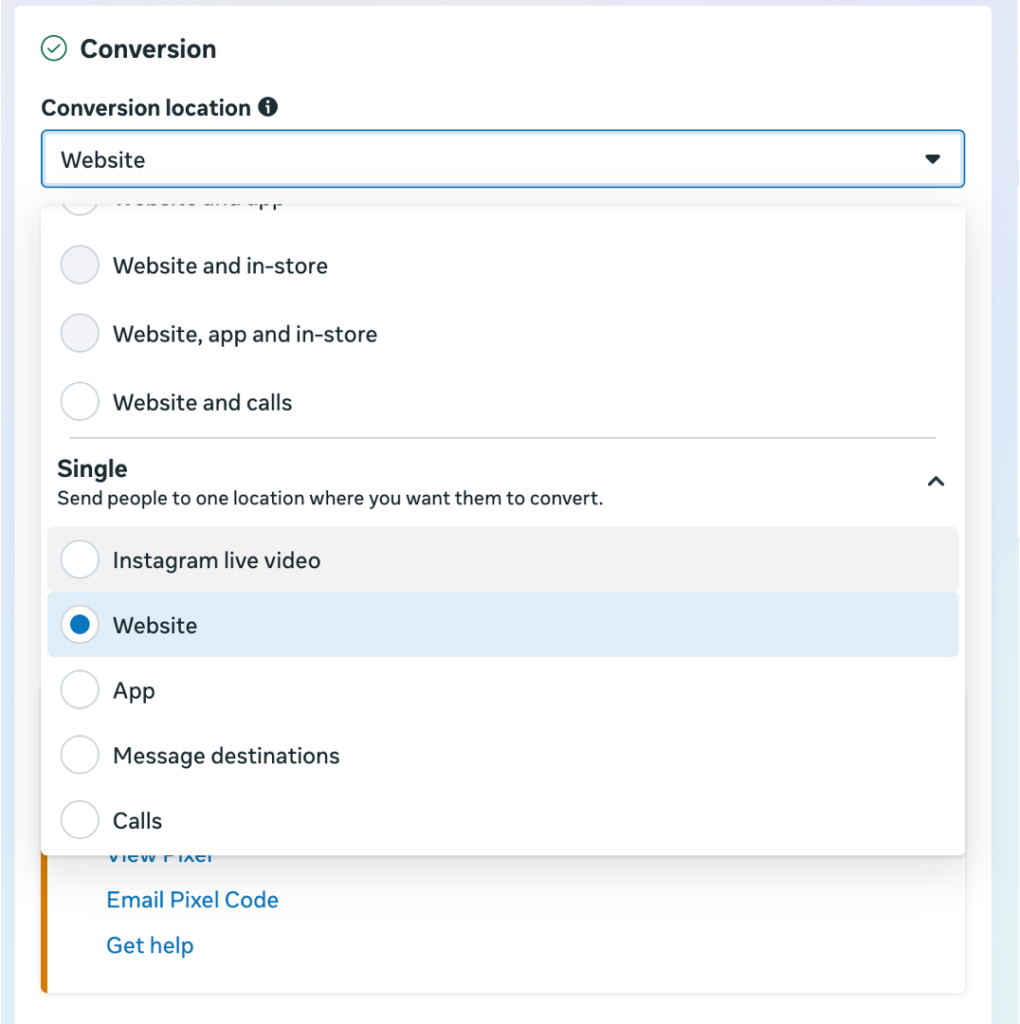
- At the ad-set level, please choose “Conversion” → “Website”.
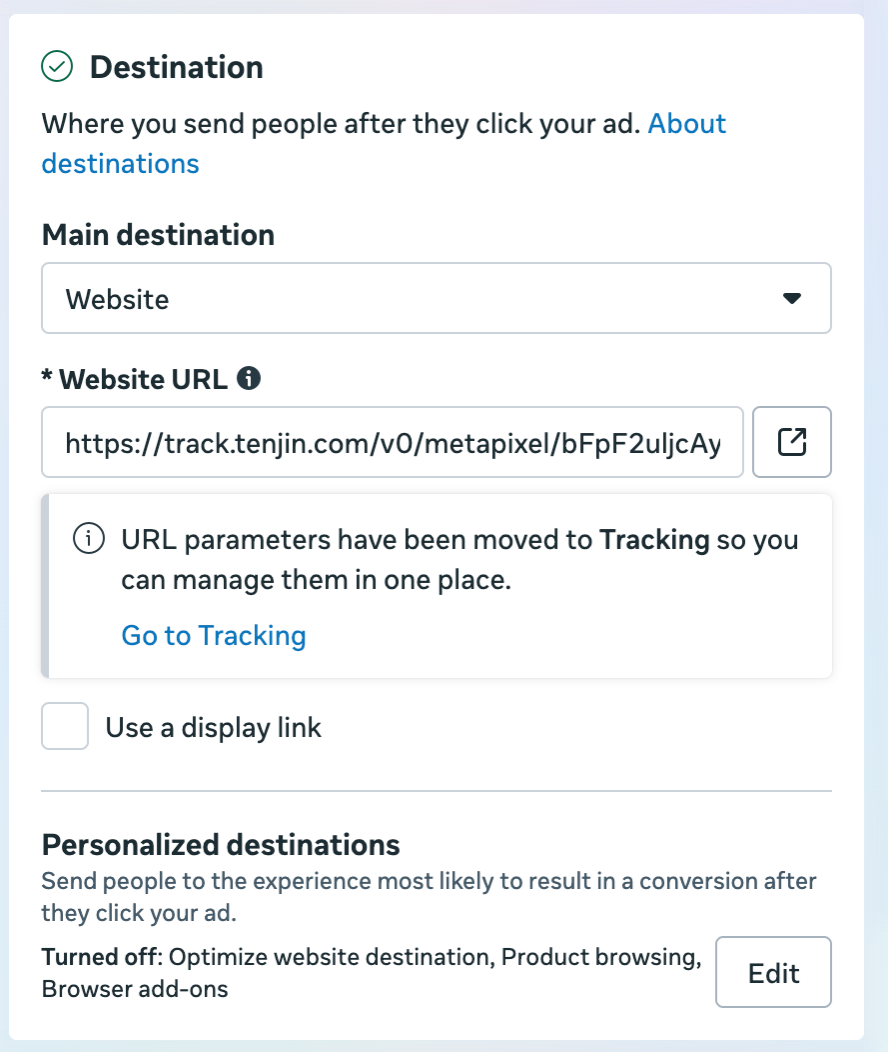
- At the ad level, enter the tracking URL that you generated in the previous section in “Website URL” field.
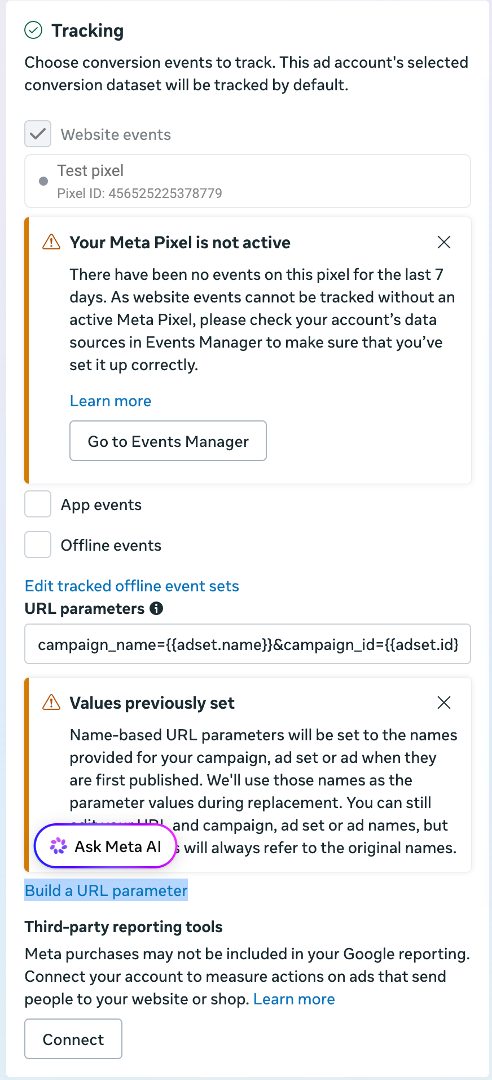
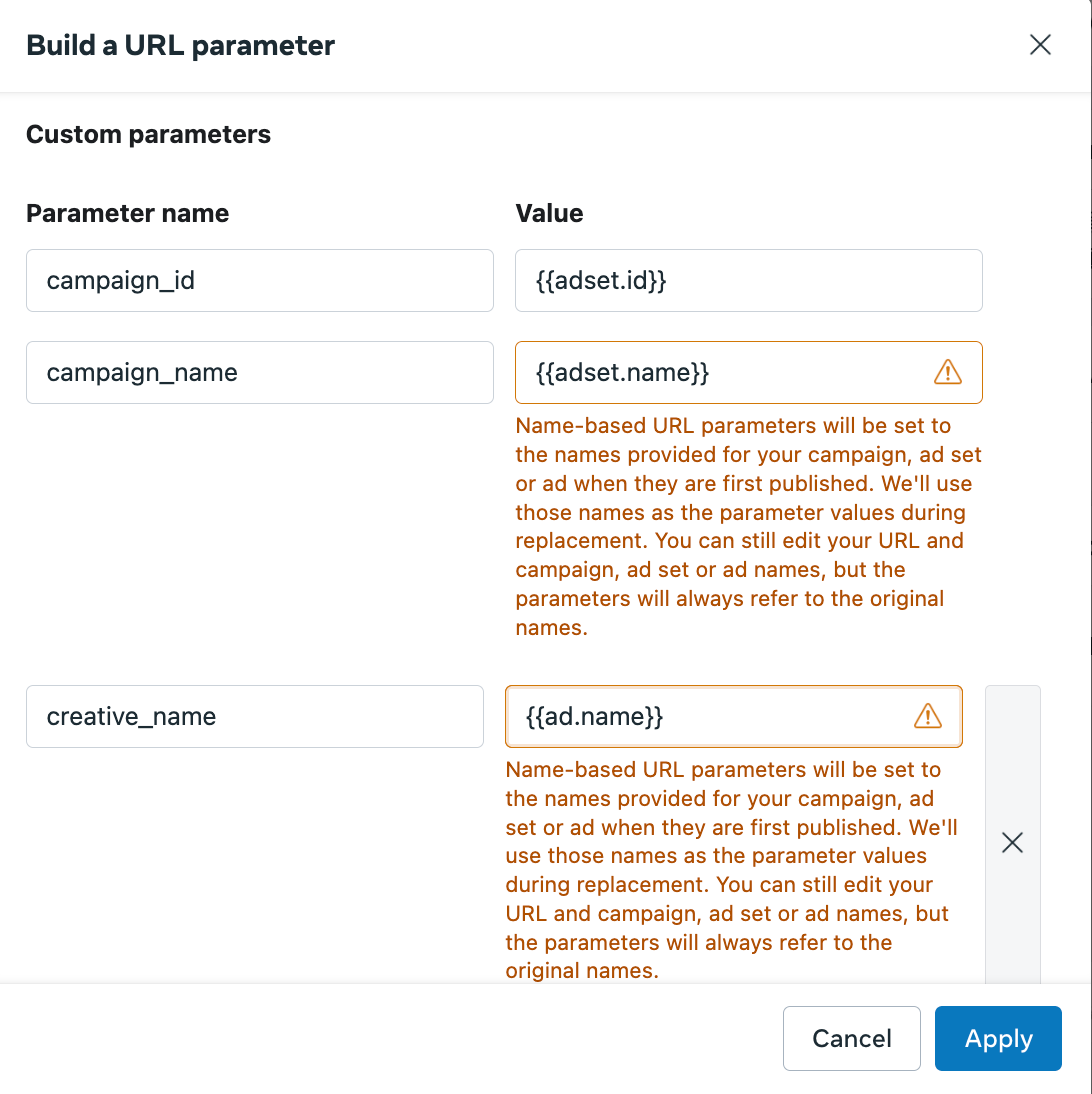
- Click “Build a URL parameter” link, and follow the setup below to add campaign_id, campaign_name and creative_name mapped to proper params as shown below:

- Please make sure you have already triggered the event to Pixel after all above configuration is completed, you can verify if you have received those events under “Datasets” -> “Overview” in the Meta event manager.